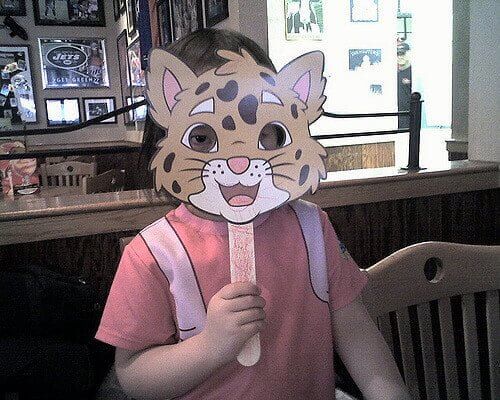
How to make children’s masks
It is certainly a little bit early for Halloween, but since when do children need a good reason to put on masks and run around? And, equally important, what constitutes a good reason for putting a mask on and running around and is there such a thing?

This summer, your children can spend a day working on making a creative mask for him or herself and then putting it on to get into character and play elaborate games using the imagination. Making masks may seem simple on the outset, but, in reality, you have to give children very specific instructions if you want them to stay focused on their task.
So, here is a list of materials you should have prepared for your kids when you want their mask making mission to commence:
- Plain paper bags
- Scissors
- Construction paper of various colors
- Diverse set of stencils
- Colored pencils, markers, etc.
- Ruler
- Glue
- Popsicle sticks
Step 1
First, have your child choose a design. Perhaps they want to make a mask of their favorite animal or their favorite cartoon character. Let the creativity flow!
This is also the time to decide if you want the mask on a piece of construction paper. In this case, it will eventually be glued to a popsicle stick or on a plain paper bag.
Step 2
Get to work on designing the face. Drawing in the eyes, nose, and other features of the face can be made much easier with the help of a stencil. Use some to get colorful with the face!
Step 3
Cut out the eyes – and the rest of the face, if need be – and put the mask on.
Now that your child is in character, he or she will surely spend at least one summer day keeping him or herself entertained in this manner.
