Create A Planter With A Wooden Pallet
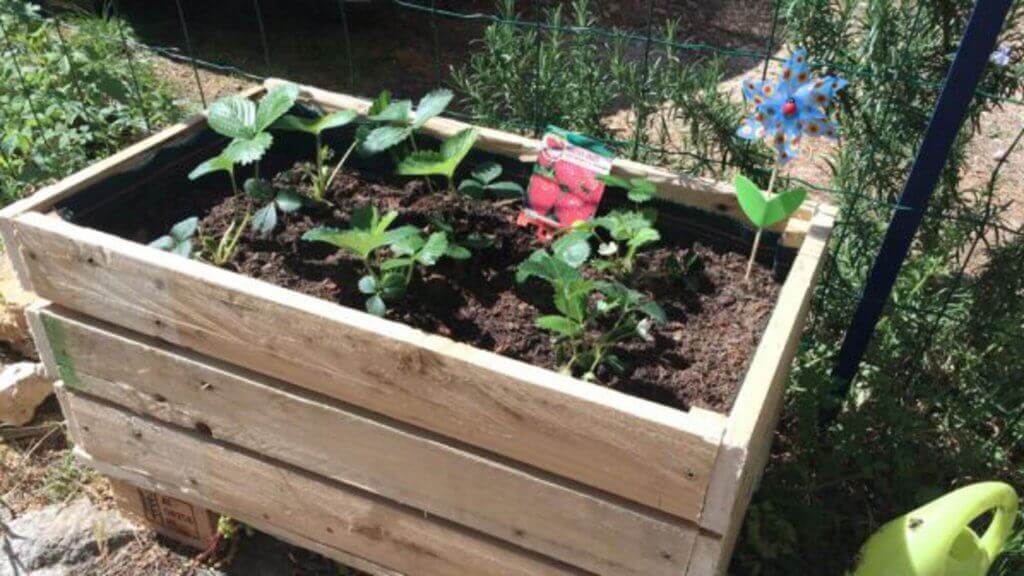
Create your own gardener at lower cost, thanks to a wooden pallet. It will have its effect on a balcony as a terrace. we show you how to, in pictures…
Create furniture with recycled wooden pallets also applies to the garden. On his blog, we unveil a tutorial easy and not expensive to transform an old palette in practical and decorative planter for the balcony. Follow the guide
“”
– a wooden pallet
– a bag of compost
– strawberry plants
– a hammer stripper nails
– a jig saw
– screwdriver
– a cutter
– a wall stapler
1) Take a muscled honey to undo the palette and retrieve boards using the stripper nails and a sledge hammer hammer. Remove nails using the hammer and pliers.
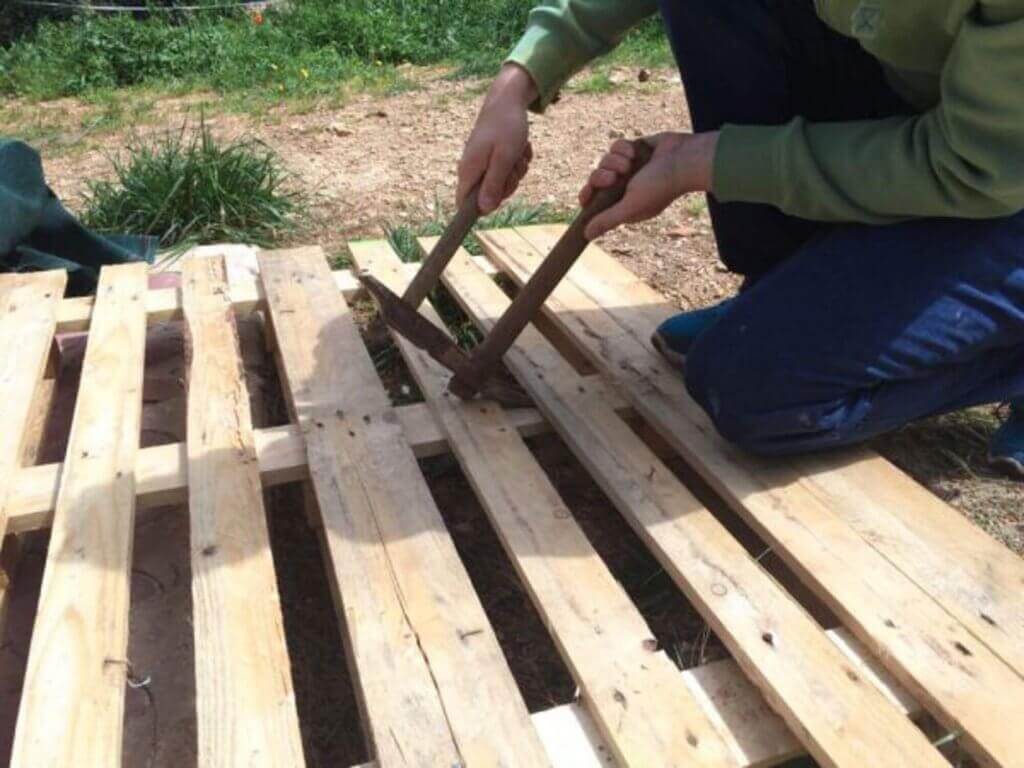
2) Cut the boards you need. We did cut 6 boards of 25 inches in length and 6 boards of 15 inches. In order to make feet for my gardener , we have recovered four plots of the palette. Add 3 boards of 25 inches in length to the bottom.
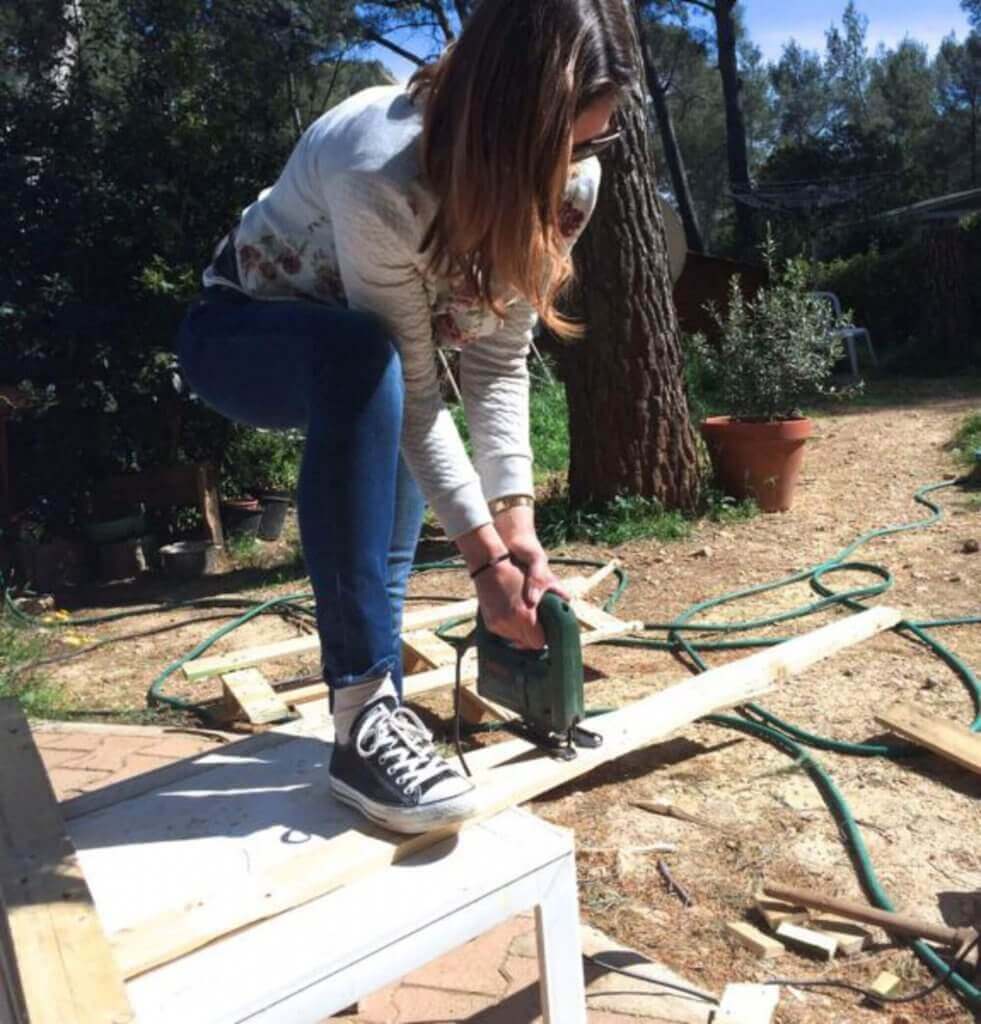
3) Start making the bottom by screwing two feet under a Board then two other feet under another Board. The third will hold with a furring Strip below
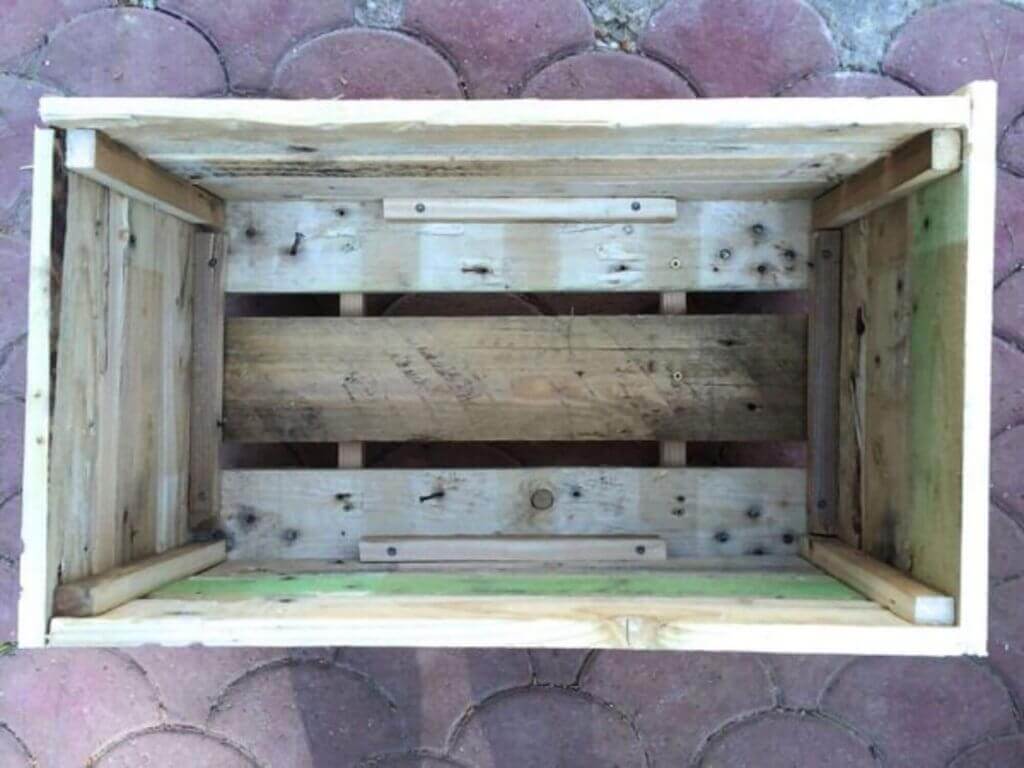
4) Little by little you can mount the rest of the crates with cleats to secure the sides with the bottom (see photos). Again, there are vertical furring to the four corners of the case to secure the sides together.
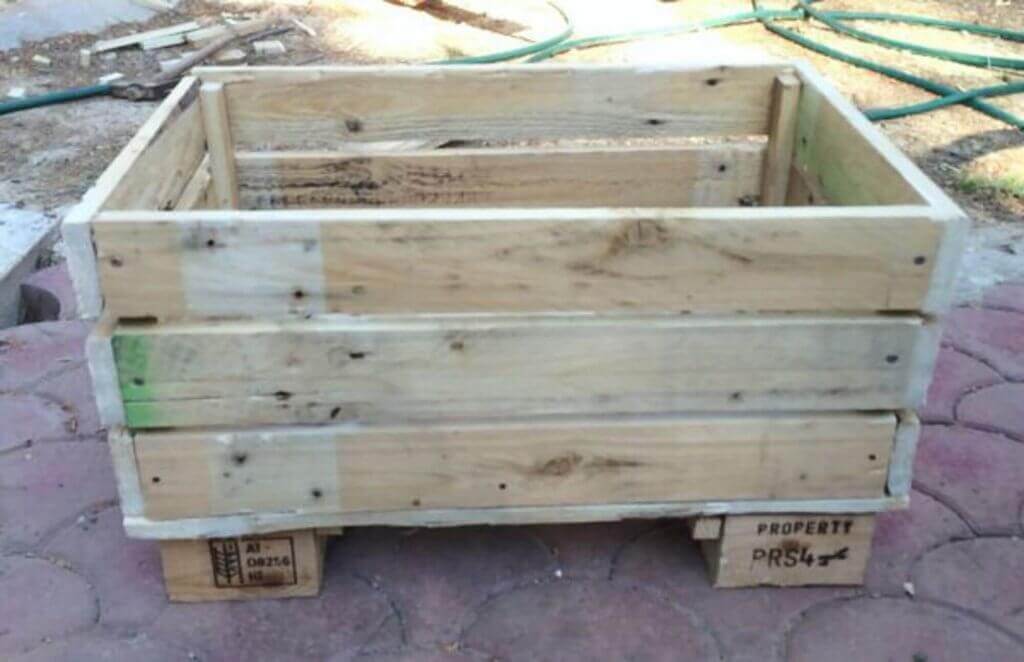
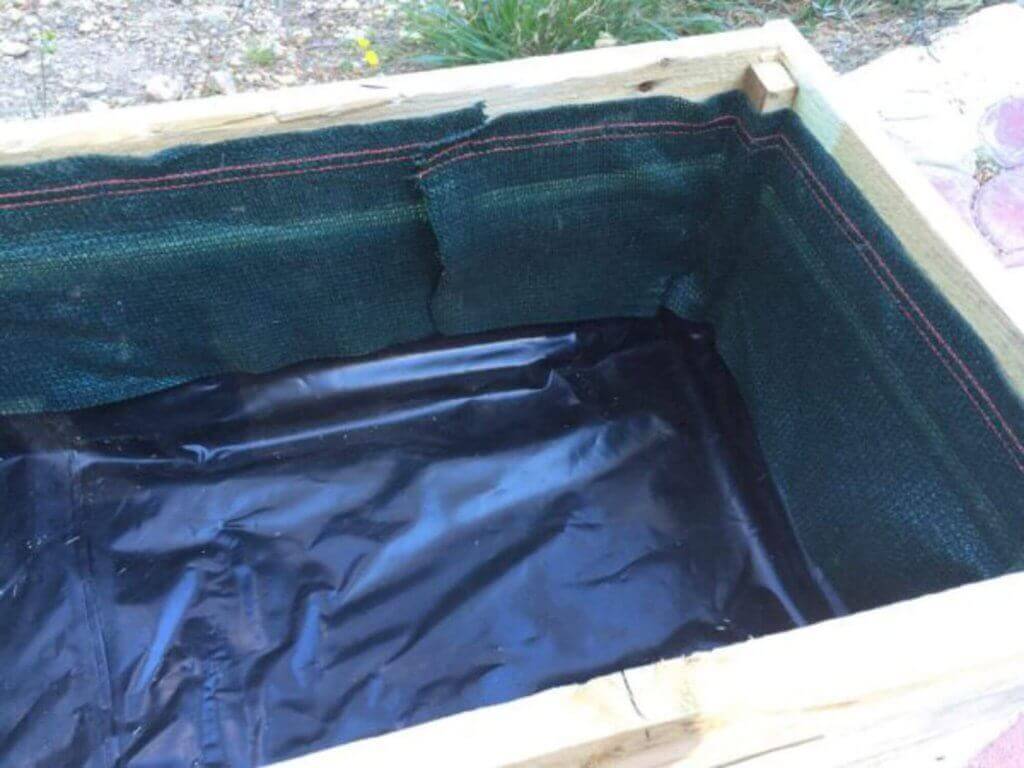
5) Cover the bottom of the crate with a tarp or a garbage bag. Let it back up to half of the flower container so that you don’t flood your deck at the time of watering your Strawberry!
6) For the second half, cover with a so-called tarp geotextile and found a little everywhere in garden centers. Everything has been fixed with a wall stapler.
7) And finally… the part that we prefer: planting! we mixed half of the soil with normal dirt in order to get the richest possible soil. We tried to add enough space between the plants, hoping to soon see them grow! Excited to be in a month so we can see the first strawberries.

