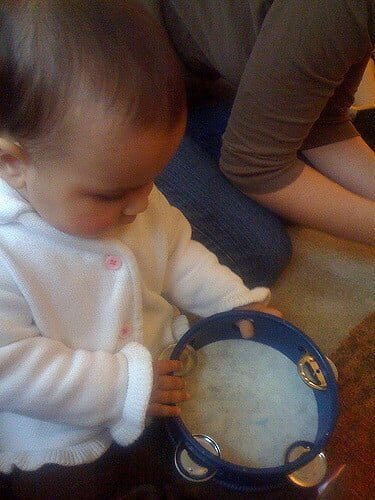
DIY toy tambourines

Let your child’s creativity and imagination soar with a toy tambourine! It’s easy to play with and is such a great instrument to introduce your child to during the early years. A DIY toy tambourine is a great way to get the kids involved, especially if you have older children as well. Children love noisy toys and are a great way to bring a smile on your child’s face.
What you’ll need:
- Wooden rings/shower curtain rings
- Jingle bells
- Ribbons
- Craft embellishments
- Delta ceramcoat paint
- Super glue
What to do:
- For this project, you’ll need a ring of some kind. You can use shower curtain rings (available at dollar or hardware stores), but if you’re attempting to make a long-lasting, quality toy tambourine, I highly recommend using wooden rings for better grip.
- You can also change the color of the wood with delta ceramcoat paint if you see fit.
- I also had to buy some really skinny ribbon because I didn’t have any small enough to slide through the hooks on the bells.
- If you have a hook of some kind on your ring, start by tying your ribbon to that end. Wind the ribbon all the way around and count how many bells you’d like for each ring.
- Next, unwind the ribbon and rethread the bells and then wound it back up each of your wooden rings. If you can’t get your bells on evenly when you are threading them, don’t worry about it. They actually move along the ribbon just fine so you can always adjust them.
- You can either tape or super glue the ends of the ribbon at the ends. I’ve found that super gluing the ends of the ribbon in place will create a better play toy for your child and will also last longer.
