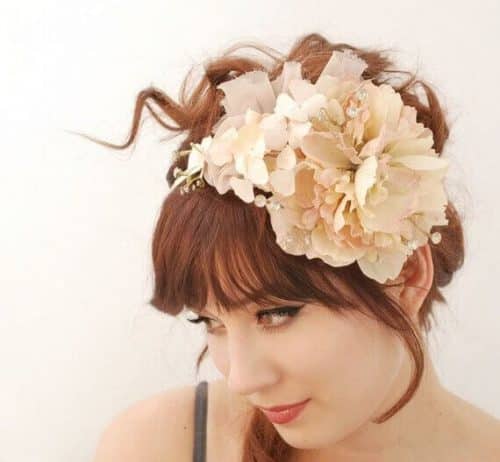
DIY floral headband

It’s about time to put together a fresh and floral wardrobe for the warm season! Accessories will create a pop of color and flare to just about anything you’ve got in your closet. Floral headbands are becoming a trending topic in the world of accessories and are super simple to make. The best part was that it only took about 20 minutes to make three headbands!
What you need:
- Silk/faux flowers
- Hot glue gun
- Black plastic headbands
What to do:
- Before getting started, choose the perfect blooms for your headband. Any type of flowers will do but the larger blooms are best for statement pieces and will surely jazz up your entire wardrobe.
- If your craft store flowers come attached with stems, you can pull all the flowers from their stems but be sure to clip the green plastic pieces off the back of each bloom so the back side is flat.
- Use hot glue to adhere the blooms to your headband as you see fit. You can use super glue. I highly recommend the Loctite All-Purpose Super Glue which typically comes in a pack of two (2 grams/tube). So, if you’re planning on designing more than one floral headband, you’ll have enough glue to go about creating many!
- When gluing your flowers to your black plastic headband, I’ve found that it’s best to start in the center of the headband and work your way to the ends attaching more flowers. If you have a bunch of flowers of different sizes, it’s best to center the largest flower and have the smaller flowers as surrounding décor. This makes it easier to create a balanced look.
These headbands are fun and easy to wear and will add a splash of color to any outfit! They also go great with a sea shell pendant. If you love flowers as much as I do, you’ll surely enjoy crafting this piece!
