DIY Pinata
How to Make a Pinata? – Fall is definitely in the air here at the Craft Corners headquarters in northern Alabama. It’s just about time to start thinking about outdoor parties again. And if you’re going to have a birthday party or an outdoor Spring celebration event, you might be wanting a pinata! Sure, you could visit the local corner store and buy a donkey or a star, but if you want a more personalized pinata, you can make your own in just 5 easy steps!
What you need:
- Recycled cardboard boxes or cereal boxes
- Colored/patterned tissue paper
- Braided polypropylene rope
- Glue
- Masking tape
- Scissors
- Colored paper/scrapbook embellishments
What to do:
- Depending on what image you’ll be creating, cut your cardboard into the desired size and shape. Since your goal is to transform the shape into a 3-dimensional structure, it should be made from a lighter weight board- preferably a cereal box.
- Tape the pieces together with masking tape to formulate the desired image.
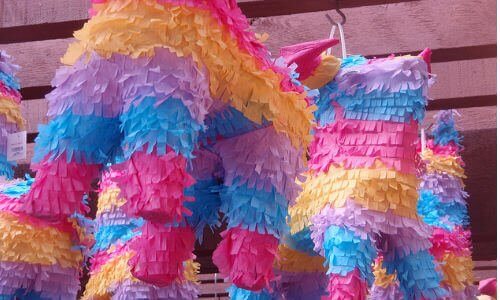
- Prepare strips of vertical fringes by cutting your colored tissue paper into 2” wide strips. To make this easier, you can stack them together and make vertical cuts at about a centimeter apart.
- Glue your tissue fringes together by starting from bottom to top.
- Once you’ve got all the fringes glued to your liking, you can embellish your piñata with colored paper to enhance features such as the eyes, mouth, ears, clothing, accessories, etc.
Allow yourself lots of space for this fun and easy, DIY piñata as it gets a little messy at times. If your child has an upcoming birthday or would like to design a unique gift for his or her buddy, piñatas make the perfect gift. You can transform your designs into epic creations and with practice over time, you can create more crafty, 3 dimensional projects like butterflies or even a puffer fish piñata. Your options are limitless here! Happy crafting!